How to Play the Plinko Board Game
Bring excitement to your game nights with our classic Plinko board game! Follow these simple steps to get started and enjoy endless fun with friends and family.
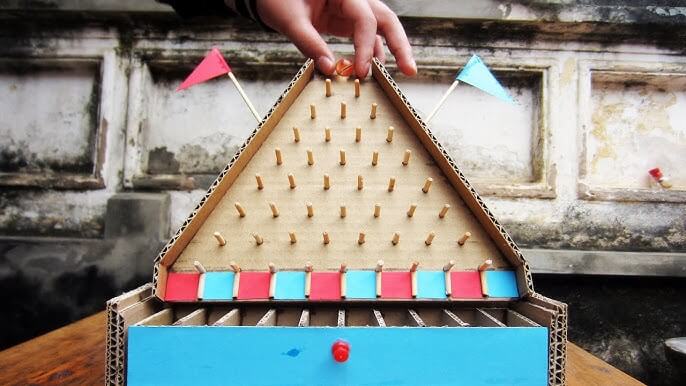
Step 1: Set Up the Board
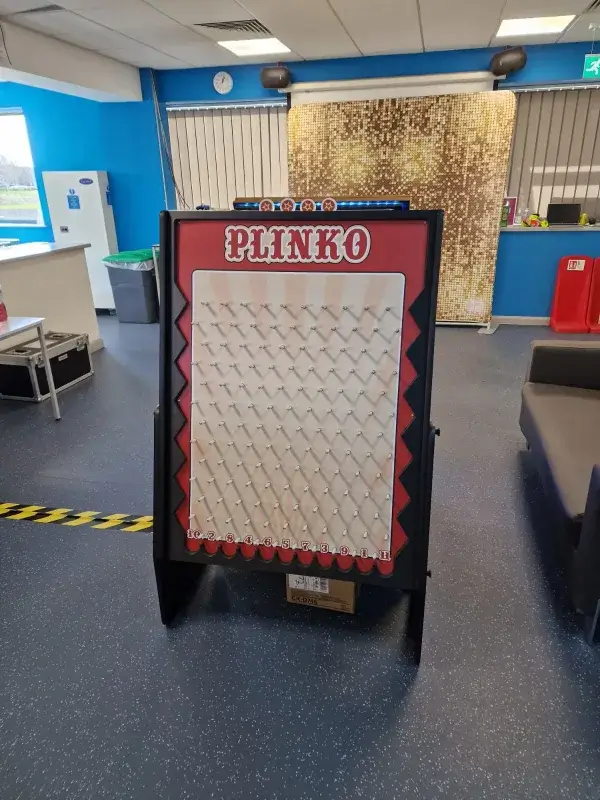
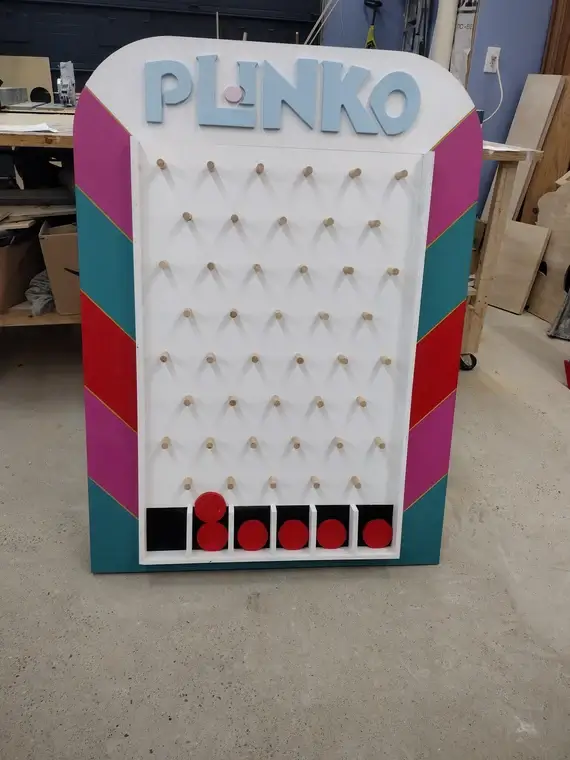
Place the Plinko board on a stable surface. Ensure the pegs and slots are properly aligned for smooth gameplay.

Step 2: Assign Rewards
Use the provided markers to label the slots with rewards or points. Get creative with prizes to make the game more exciting!
Step 3: Drop the Discs
Take turns dropping the discs from the top of the board. Watch them bounce through the pegs until they land in a slot!
The Plinko Adventure Awaits You
Plinko isn’t just a game, it’s a thrilling challenge of precision and luck. Embark on your Plinko adventure with our offline board game and explore the endless possibilities with every drop. Whether you're aiming for high-value rewards or simply enjoying the bounce, your journey through the board will be unforgettable.
Master the Art of Precision
Drop, Watch, and Win
Your Plinko Adventure Starts Here
Unleash your inner strategist with the offline Plinko board game! From the moment you drop your first ball, every bounce becomes a story, a chance to learn, and an opportunity to win big. Ready to master the art of precision? Your journey awaits.
How It Works
In this tactile version of Plinko, every drop is a physical experience. Aim your ball carefully and let the pins guide it to unexpected rewards. Your strategy and the law of physics will determine your fate.
How to Build Your Own Plinko Board
Building a Plinko board at home is a fun and rewarding project. Follow these six simple steps to create your own! Let your creativity shine and customize it to suit your style.
Step 1: Plan Your Board
Start by deciding the size of your board. Sketch a layout including the peg placements, slots at the bottom, and the frame. Use graph paper for precision.
Step 2: Gather Materials
You’ll need plywood, nails, pegs, glue, paint, and a ball. Make sure to have tools like a saw, hammer, and ruler for cutting and assembling.
Step 3: Cut and Assemble
Cut the plywood to your desired size. Attach side frames for stability. Drill small holes where the pegs will be placed, ensuring they are evenly spaced.
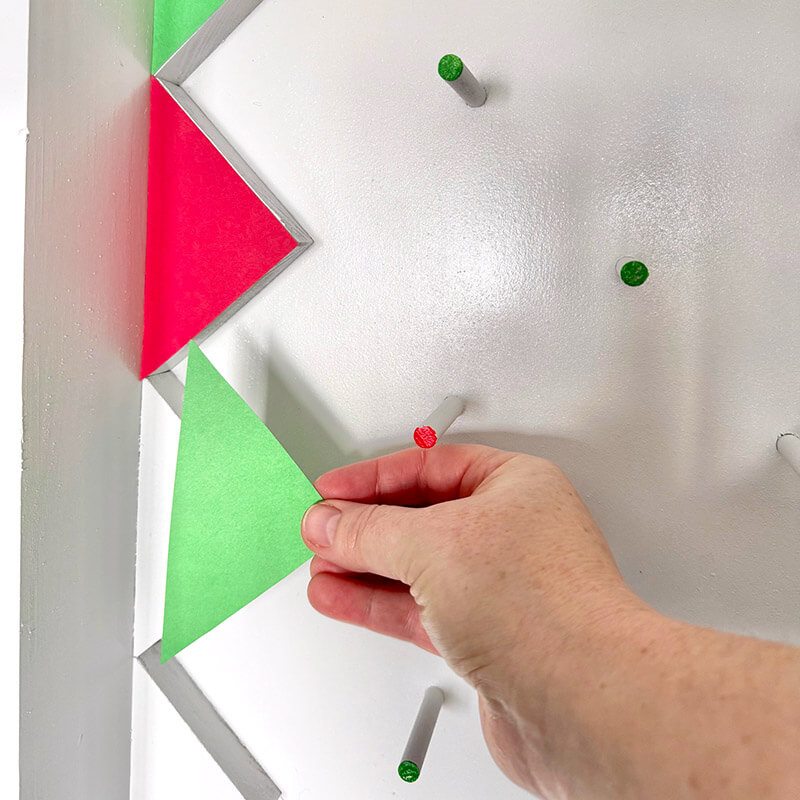
Step 4: Add Pegs
Insert the pegs into the drilled holes. Ensure they are secure and evenly spaced. The placement of pegs determines the ball's randomness as it bounces.
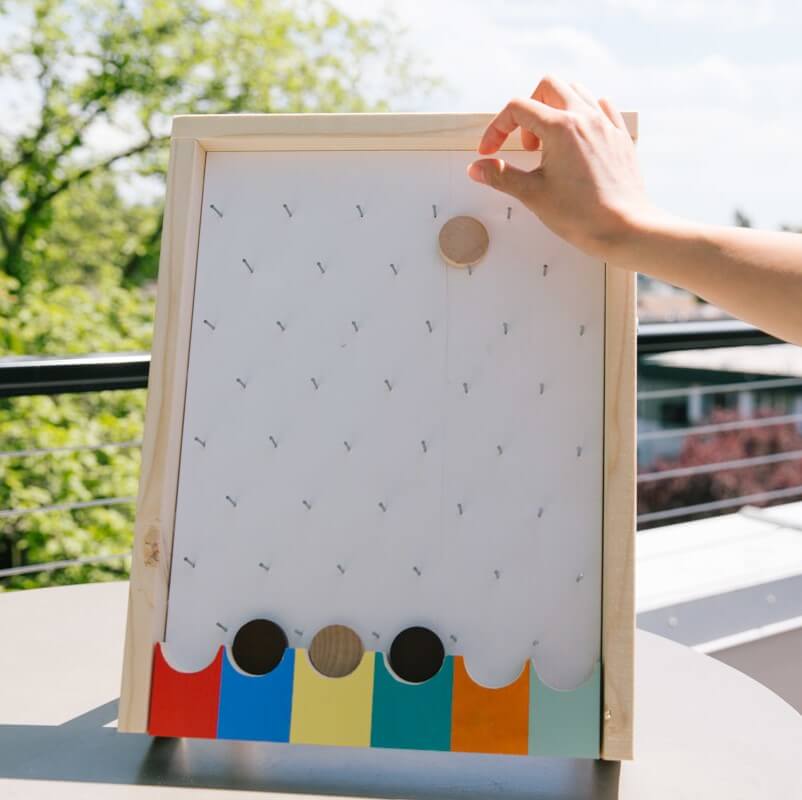
Step 5: Paint and Decorate
Paint the board and customize it with vibrant colors and designs. Add labels or numbers to the slots for scoring or fun messages.
Step 6: Test and Enjoy
Test the board with the ball to ensure it bounces smoothly and lands in the slots. Adjust the pegs if needed. Now, enjoy your handmade Plinko board!